

Level 50, ilvl 70
50, i110
Central Shroud (X:19, Y:28)
 Corpse Groom
When the guiding light of one's life is extinguished, it takes uncommon strength of spirit to clamber out of the black pits of despair. Those who want for resilience may yet be pulled up by a friend's helping hand, but what becomes of a brokenhearted maiden who has neither the strength nor the succor to overcome the darkness that threatens to consume her? The answer shall be revealed through the tragic tale that begins with the arrival of a single letter...
When tanking, your main job is to hold onto the boss and maintain her attention. The DPS/Healer are responsible for the gimmick in this fight. A group of zombies will be summoned and they will start chasing one of the players, not the tank. It is important not to attack the zombies, but instead kite them. Eventually, the boss will put an orange/red arrow-like mark over someone's head, who is also not the tank. This person needs to run into the horde of zombies, triggering an AoE that will kill them. If you personally kill a zombie, the party will suffer a significant damage resistance debuff that lasts for one minute and can stack up to 8 times. If the boss fails to kill the zombies with her AoE on the first two attempts, the debuff will be applied to the party a few seconds after her next attack. During the breaks between hordes, focus on dealing as much damage as possible. Remember, do not attack the adds. The person with the red arrow mark should go to the person being attacked by the adds. It is also important for players to group up in the middle so that the player targeted by the adds is always next to the player marked by the arrow.
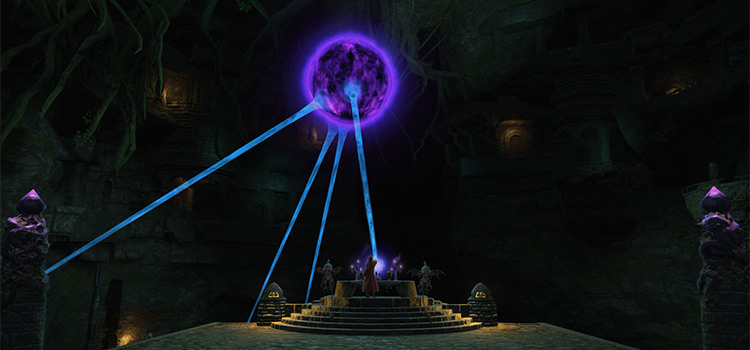
In the middle of the battle, the friendly NPC named Paiyo Reiyo is in a vulnerable position and it is crucial to protect him. The boss possesses a substantial amount of HP, making the fight potentially lengthy. The key strategy is to prevent the NPC from sustaining any damage, as every time he is hit, the boss becomes bigger and stronger. If the NPC dies, the boss will execute a devastating attack that wipes out the entire party. Throughout the battle, purple energy balls emerge from portals and make their way towards the NPC. It is necessary for everyone to quickly pass through the balls and detonate them prematurely in order to safeguard the NPC. Later on, there will be two larger energy balls instead of multiple smaller ones, but they move slowly and can be easily knocked out. Additionally, the boss employs an area-of-effect attack that leaves a hazardous zone on the floor, inflicting damage-over-time known as "Bleed." I managed to keep this attack on the outskirts of the battlefield, but extreme caution is required to prevent the NPC from being affected by it. To summarize, intercepting the orbs spawned by the portals at the edges of the boss room is essential, as they must not reach the center of the room.
In the middle of the room, Edda is standing within a circle that causes Bleeding. Edda cannot be targeted and she periodically summons demons outside the arena to execute linear area-of-effect attacks that all converge on the tank. Avere Bravearm, the boss, does not possess any notable abilities himself. Throughout the battle, crawling zombies similar to the Siren fight will emerge from the edges of the room and make their way towards the center. If any of these zombies reach the circle, a rune on the floor will light up. The more runes that light up, the more powerful the boss's "Red Wedding" attack will be at the end. It is crucial to prevent the crawling zombies from reaching the center of the room by killing them promptly as they spawn at the edge.